
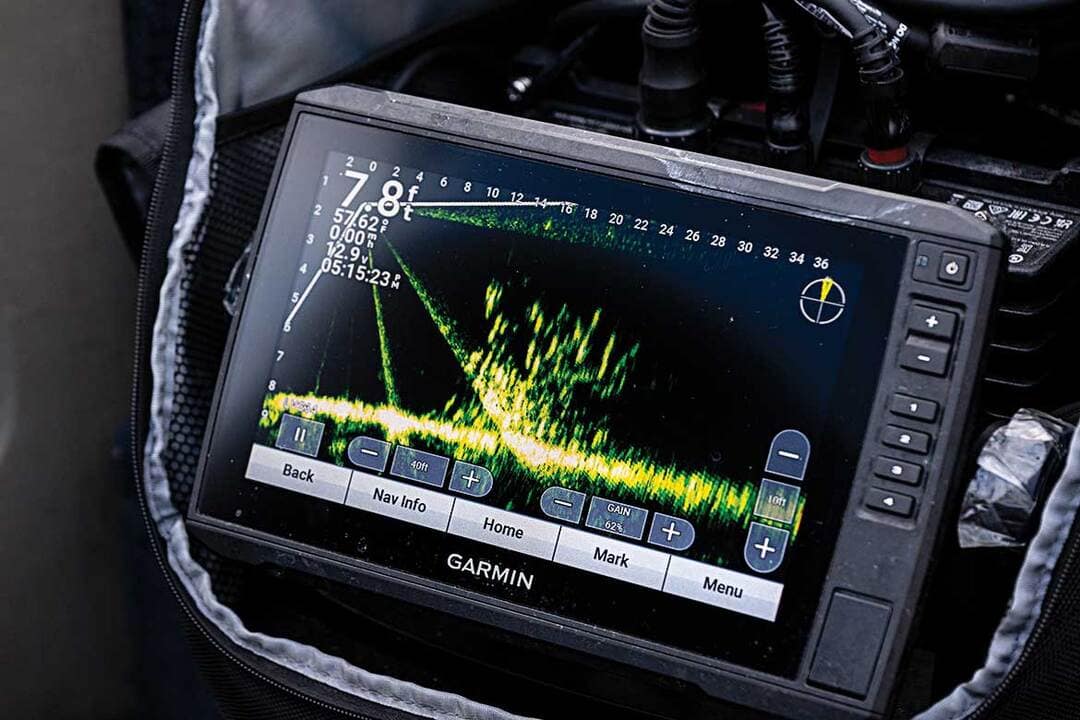

Sonar technology has transformed the world of fishing, yet many anglers tap into only a fraction of its capabilities. Just as people often underutilize smartphones or computers, the full power of today’s advanced sonar units remains unexplored for most users. With proper setup and understanding, however, any fisherman can turn their sonar screen into a powerful tool for efficiently identifying fish.
Understanding the Basics: What is Sonar?
At its core, sonar (Sound Navigation and Ranging) works by emitting sound waves that bounce off objects underwater and return to the transducer. By translating these echoes into visual information, a sonar unit reveals not only the contour and structure of the bottom, but also fish and other bait in the water column.
Modern sonar systems whether they use traditional 2D sonar, down imaging, or side imagingoffer an unprecedented view beneath the surface. To use sonar efficiently, anglers must first grasp what their unit is showing and how settings impact clarity.
Essential Sonar Settings for Fish Identification
Setting Bottom Depth Range for Double Echo
One of the most overlooked steps in setting up sonar for fish detection is adjusting the bottom depth range. Increase your unit’s bottom range to more than twice the actual bottom depth. For example, if you’re fishing in 30 feet of water, set the depth range to at least 60 feet. This reveals a “second bottom return” or double echo on your screen a key indicator of power adjustment and clarity.
- Why it matters: Seeing the second echo helps you adjust transmit power and sensitivity for better discrimination between bottom, fish, and clutter.
Adjusting Power and Gain
Once you see the secondary bottom echo, tweak your sonar’s power and gain settings. Dialing up the power clarifies returns, but too much can cause screen clutter; too little, and you’ll miss important details.
- Tip: Aim for just enough power to make the secondary return visible as a faint outline. Fine-tune until fish arches or icons stand out but aren’t washed out by noise.
Auto Range vs. Manual Adjustments
Returning the bottom range to auto or to a slightly higher setting than actual depth ensures a level of automation while maintaining accuracy. Adjust this as water clarity and bottom conditions change. Muddy or algae-rich water may appear as screen clutter; small tweaks help separate fish marks from environmental “noise.”
Interpreting Sonar Images: From Blobs to Bites
Identifying Fish Arches
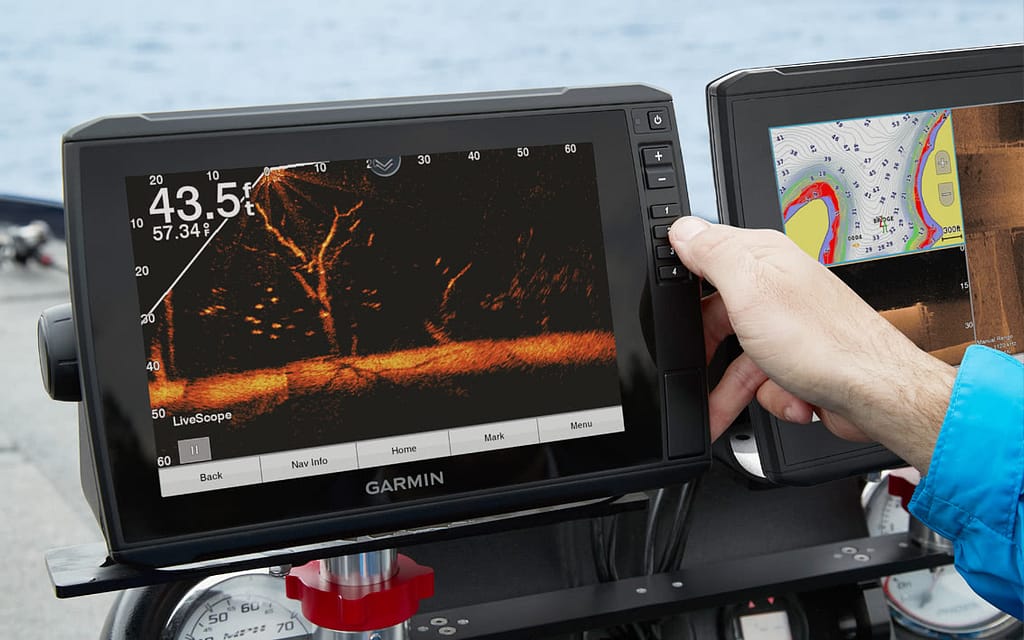
Fish typically appear as arches on traditional 2D sonar. The shape is a result of the transducer’s beam passing beneath a moving fish. Full, symmetrical arches indicate fish moving through the center of the cone, while half arches or dots might represent fish at the edges or smaller targets.
- Important: Don’t chase every mark—learn to distinguish fish size and species by the thickness of the arch and its position in the water column.
Differentiate Between Structure, Bait, and Target Species
Hard bottom, vegetation, and brush piles reflect sonar differently than fish. Bright, solid lines or clusters often signal structure; fish will stand out as isolated arches or dots, often suspended above or within cover.
Baitfish show up as dense clouds or fuzz, usually higher in the water; game fish such as bass or walleye often appear just below or around these bait clouds.
Advanced Sonar Techniques
Utilize Split-Screen Modes
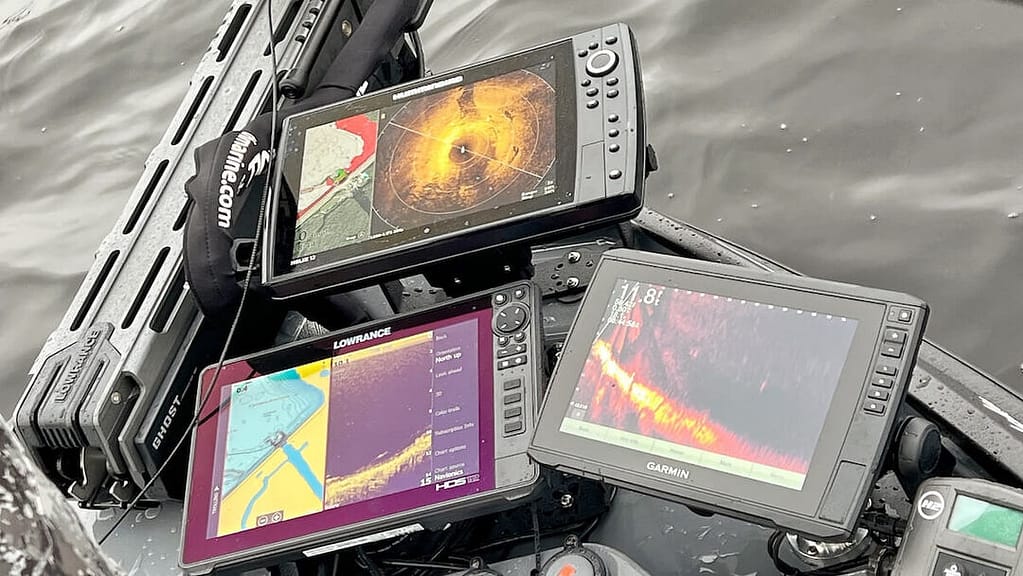
Most advanced sonar units offer split-screen views, combining traditional 2D sonar with down or side imaging. This allows you to cross-reference targets and eliminate confusion what looks like a fish on 2D might be structure on down imaging.
- Use this feature to confirm fish marks before casting, or to identify schools from background clutter.
Leverage Recording and Playback
Some sonars let you record and replay sonar data. Reviewing these recordings off the water can sharpen your interpretation skills and help pinpoint overlooked hotspots.
Best Practices for Real-World Conditions
Sonar operation isn’t set-and-forget; regularly adjust your unit based on changing water clarity, depth, bottom hardness, and fish movement. Updating your transducer position and wiping it clean ensures consistent readings. Pay attention to water temperature and bait activity, too these cues can help you predict where fish are likely to be found.
Finally, familiarize yourself with your specific sonar model and explore software updates offered by the manufacturer. Leading brands like Lowrance regularly improve performance and add new features.
Common Mistakes to Avoid
- Over-reliance on factory default settings; every lake and day is different.
- Ignoring screen clutter as water conditions change.
- Failing to verify targets across imaging types.
- Neglecting updates or transducer maintenance.
Key Takeaways
Learning to properly set up and interpret your sonar unit can turn an average day on the water into a productive outing. By understanding core settings, developing image interpretation skills, and leveraging advanced features, you unlock the full fish-finding potential of your sonar technology. Don’t just scratch the surface dive deep, adjust thoughtfully, and let your electronics work for you on every trip.


